Create PostgreSQL Database
- From the left-hand navigation of the Digital Ocean dashboard, under the Manage section, choose Databases
- Click on Create in top left, then in pull-down choose Databases
- Under Create a database cluster, choose PostgreSQL 11; choose a node plan – if you are going to have high-volume traffic, you will want more memory/CPU/disk space. For testing, you can choose the 1G/1CPU/10GB Disk plan.
- Choose the datacenter where your Stream Manager droplet resides.
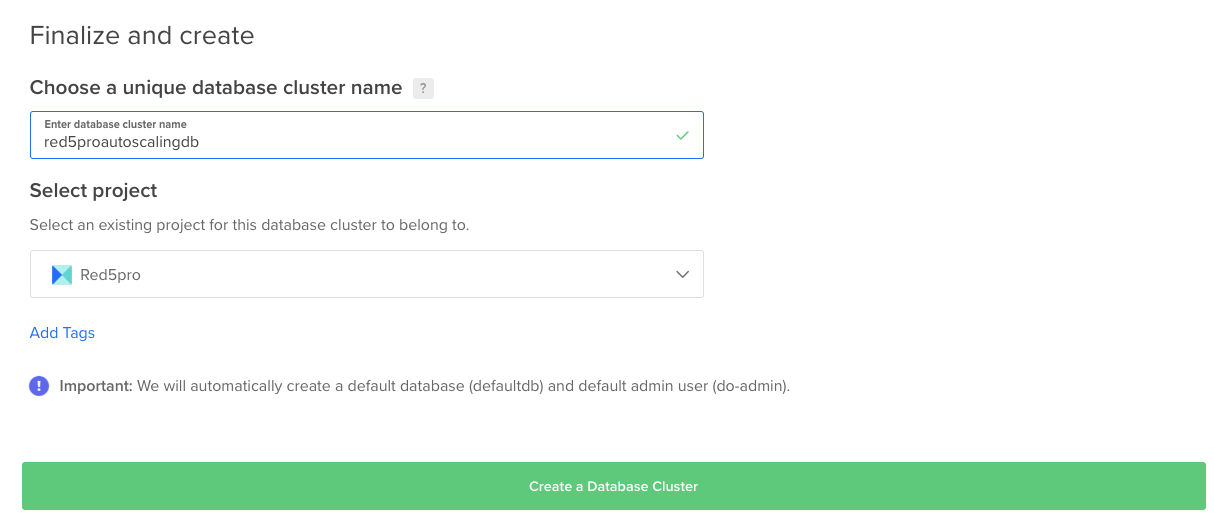
- Under Finalize and create choose a unique database cluster name (or accept the assigned name) and select your project, then click on Create a Database Cluster.

- After the database is provisioned, you can secure and configure the database cluster. NOTE: this can take 10-15 minutes, so now is a good time to get up and stretch your legs.
- Add trusted sources – from the Overview tab, cilck on Secure this database cluster by restricting access. in the
TRUSTED SOURCESsection. Click on the Edit button next to Trusted Sources. Find your stream manager and your terraform server in the Add Trusted Sources pull-down; you can also add your IP address if you wish. Then click on Allow these inbound sources only. - Make a note of the time for scheduled updates; if you want to change that time you can modify that in settings.
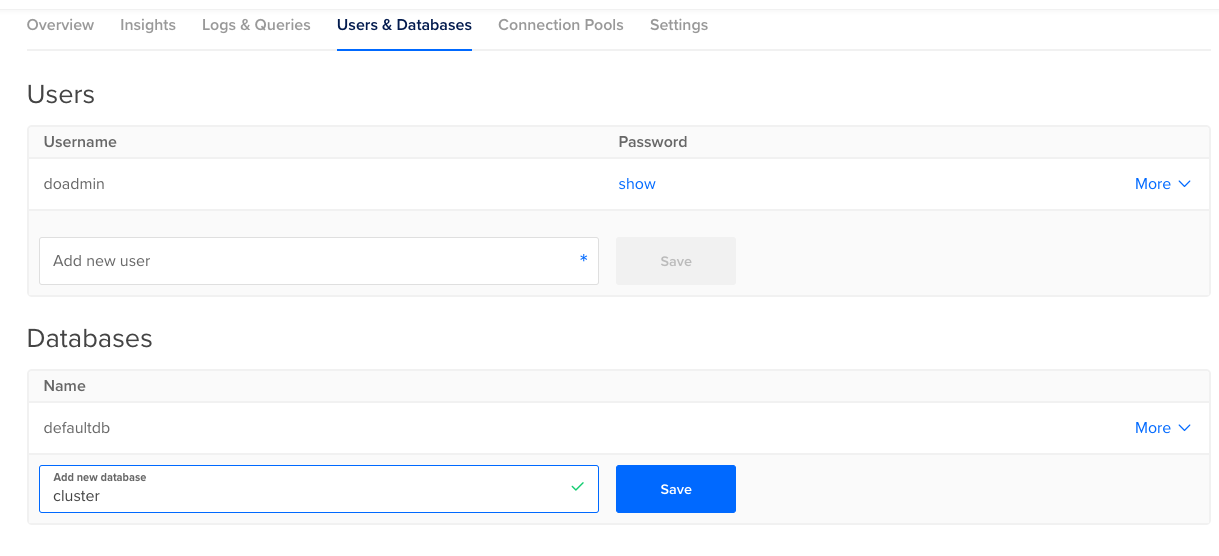
- Click on the Users & Databases tab. Add a new database called
cluster. Note: this database will be populated by the Stream Manager at startup.
- Add an autoscaling admin User account to the database. A secure password will be generated – make a note of that password (or you can reset it if you like).
Database Connections
You will need 3 database connections for each node (origin, edge, etc). In addition, each incoming publish and subscribe request queries the database, so for production traffic you will likely want to choose the highest available database node type.
NOTE: For production it is suggested that you also enable a standby database node.
Optional – Run MySQL on a Droplet
If you anticipate a lot of streams and/or a lot of nodes in your nodegroup, then you may want to run MySQL (instead of PostGreSQL) on a Digital Ocean droplet. Mysql can support more connections than PostGreSQL can.
- Create a new droplet from the optimized image that you created. It is recommended that you use a c-4 or c-8 instance, depending on your anticipated user load.
- Install NTP and unzip:
apt-get install unzip ntp - Install MySQL (reference):
apt-get install mysql-server– during the MySQL installation, you will be prompted to set the root password – make a note of what you set this to. - IMPORTANT: Modify
/etc/mysql/mysql.conf.d/mysqld.cnfcommenting out the line:bind-address = 127.0.0.1by pre-pending with a#; Also, uncomment themax_connectionsline and set that to100000(max_connections = 100000) - Restart MySQL service
systemctl restart mysqlto apply the above settings - Add non-root user:
- Connect to database as root
mysql -u root -p(enter root password). - Create new user: at
mysql>prompt:CREATE USER 'mynewuser'@'%' IDENTIFIED BY 'goodPassword';wheremynewuseris your dbadmin andgoodPasswordis your secure password. - If you are successful, you will see
Query OK, 0 rows affected (0.00 sec) - Apply privileges to the new user:
GRANT ALL PRIVILEGES ON * . * TO 'mynewuser'@'%'; - Reload the privileges to make sure the new ones are in place:
FLUSH PRIVILEGES;
- Connect to database as root
- Create
clusterdatabase:- Connect with the new user: type
quitto logout root user, thenmysql -u mynewuser -p - Create database:
CREATE DATABASE cluster;
- Connect with the new user: type
- Add Cluster schema:
- Download the Red5 Pro Server Distribution, and unzip on your server.
- Navigate to
{red5prohome}/webapps/streammanager/WEB-INF/sql/to find thecluster.sqlfile. - Run the sql script:
mysql -u mynewuser -p cluster < cluster.sql(you will be prompted to enter the password that you set above).