Create Optimized Disk Image and VCN
For the autoscaling infrastructure, we will be configuring three or four different droplets. For the purpose of avoiding duplicate work, it is recommended that you start by creating an optimized VM and then taking a snapshot of that to use as the base for your Stream Manager, Terraform, and nodes.
Create an OCI Instance
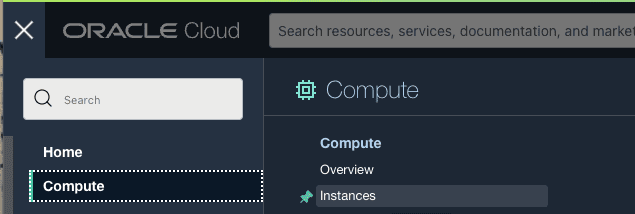
- Navigate to Compute… Instances from the OCI dashboard.

- Select the region where you wish to create your image, and click on the Create instance button.
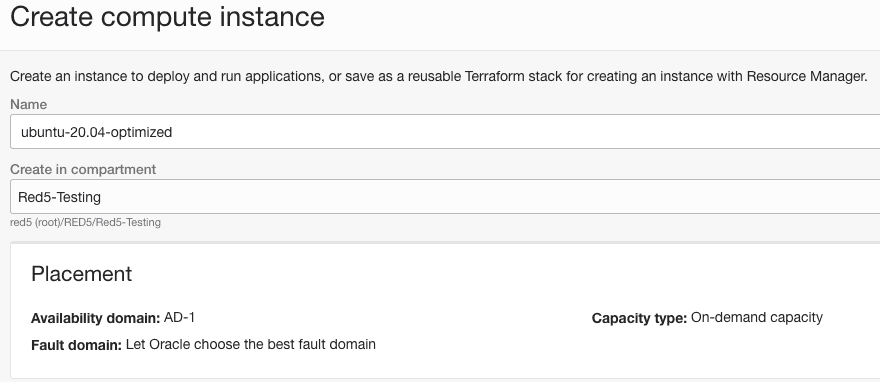
- Give your instance a name, and choose the appropriate compartment per your environment.

- Accept the defaults for the Placement selection.
- For Image and shape, click on the Change image button. Select Image name:
Canonical Ubuntuand OS version:22.04, then click on the Select image button (IMPORTANT: as of Red5 Pro 12.0, Ubuntu 22.04 is the desired version).
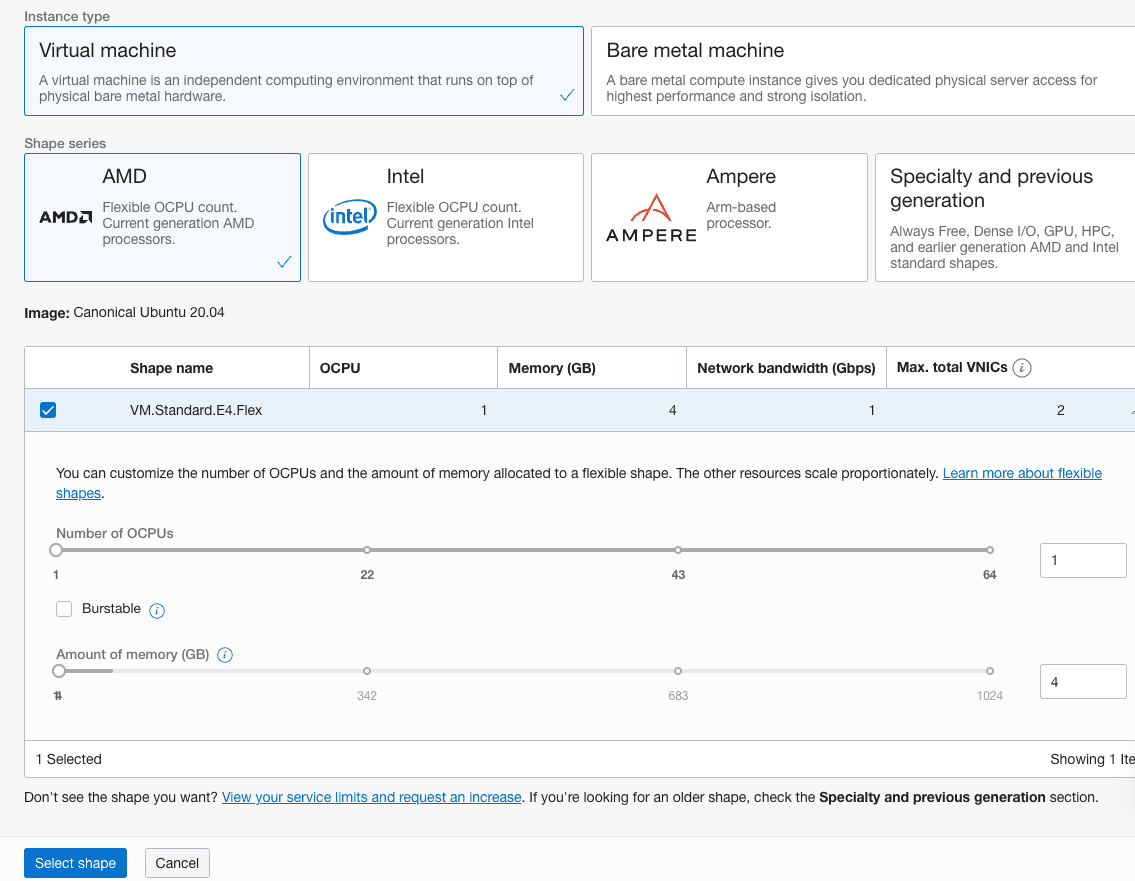
Click on the Change shape button and adjust theVM.Standard.E4.Flexoptions as needed. The minimum configuration recommended for Red5 Pro is one OCPU and 4GB memory.- Note: one OCPU is the same as two standard cloud CPUs. Also, note that the VM will have 1Gbps bandwidth per OCPU.
- Click on the blue Select shape button, and accept the defaults for the advanced options.

Create a Virtual Cloud Network (VCN)
- Networking: unless you are re-using an environment that you already created, for Primary Network choose Create new virtual cloud network, and for Subnet choose Create new public subnet – both in the compartment that you set up for this project. You can accept the other network defaults.

Continue Creating the OCI Instance
- If you have a keypair you can choose to Upload public key files(.pub), otherwise choose Generate a key pair for me and download the private and public keys.

- For the Boot Volume, choose the Use in-transit encryption option.

- Expand the advanced options and navigate to the Oracle Cloud Agent tab. For your autoscaling environment, we recommend removing all options except for Compute Instance Monitoring.

- At this point, you can either click on the Create button or Save as a stack. If you choose to save as a stack, then you will be able to use that stack in the future to create a new VM with the same options chosen in the above steps.
- If you chose to create a stack, you will then need to select Apply to launch a new VM (when the Apply slide-in window is displayed, click on the blue Apply button at the bottom.

- Your stacks can be found in the Developer Services, Resource Manager and are stored in the compartment where they were created.
Update Instance System
- Once the VM is available, ssh into the IP address as
ubuntuuser with the ssh key you created (ssh -i ssh-key ubuntu@ipaddress) (NOTE: you may need to modify the security - Type
sudo apt-get updateto update the system
Disable Firewall
OCI images have a software firewall installed by default. For ease of use, we recommend disabling this firewall and managing permissions using Network Security Groups. To disable the firewall, use the following commands:
sudo iptables -F
sudo netfilter-persistent save
You can also uninstall iptables altogether: sudo apt-get remove iptables.
If you want to use iptables for increased security control, then open the required Red5 Pro ports:
sudo iptables -A INPUT -p tcp --dport 5080 -j ACCEPT
sudo iptables -A INPUT -p tcp --dport 1935 -j ACCEPT
sudo iptables -A INPUT -p tcp --dport 8554 -j ACCEPT
sudo iptables -A INPUT -p udp --dport 40000-65535 -j ACCEPT
Optimize Instance
- modify
/etc/sysctl.conf, adding the following lines to the bottom:
fs.file-max = 1000000
kernel.pid_max = 999999
kernel.threads-max = 999999
vm.max_map_count = 1999999- modify
/etc/security/limits.conf, adding the following lines to the bottom (if your process is running as a different user than root, then you will want to add the same for that user)
root soft nofile 1000000
root hard nofile 1000000
ubuntu soft nofile 1000000
ubuntu hard nofile 1000000- modify
/etc/pam.d/common-session, adding the following to the bottom
session required pam_limits.so- then run
ulimit -n 1000000 - And finally,
sudo sysctl -p, which will reload the user sessions with your updated settings
Create Disk Image
- Type
exitto log out of the VM. - From the Instance details page, click on the Stop button (when prompted, do not choose to force shutdown. Just let the instance shut down gracefully.

- When the instance state changes from
stoppingtostoppedclick on the More Actions button and choose Create custom image.

- Give the image a logical name and click on the Create custom image button.

- The state will change from creating image to stopped when the process has completed. We can now use this image as the base for the autoscale infrastructure.


